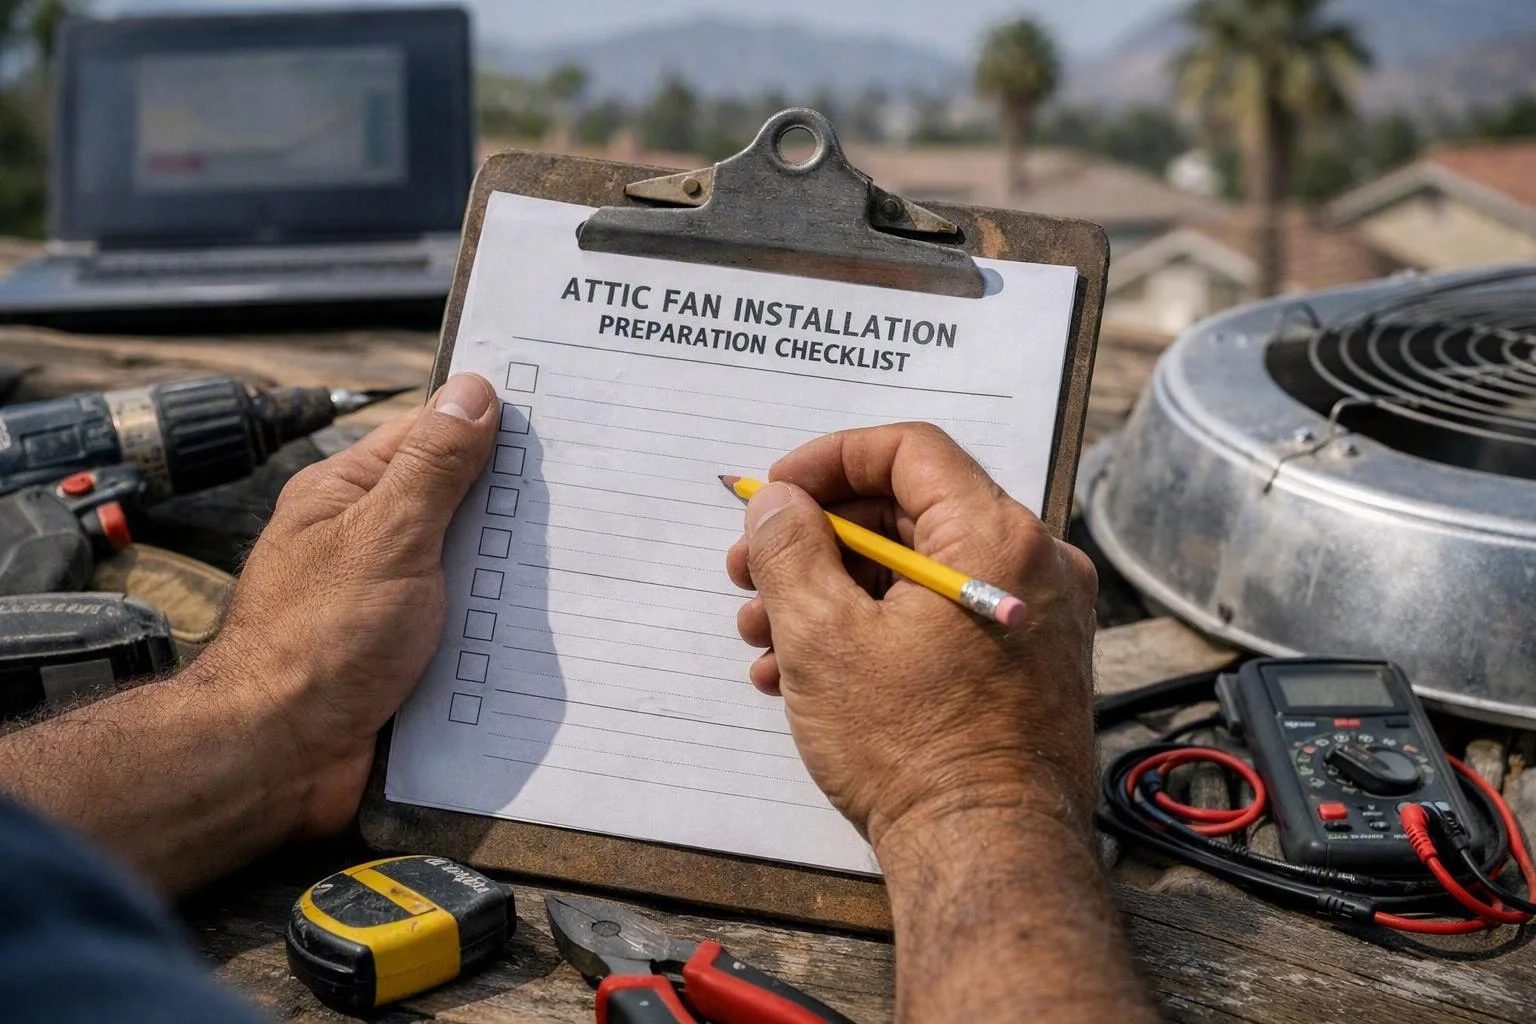
Attic Fan Installation Preparation Checklist
Attic fan installation preparation checklist: San Bernardino Electrician checks the fan location, electrical supply, roof or wall ventilation, attic access, safety conditions, and final operation before completing the work.
Get a Free EstimateWhat to Check Before Attic Fan Installation
Attic fan installation preparation starts with confirming the installation location, electrical supply, ventilation path, attic access, and safe working conditions.
An attic fan, also called an attic exhaust fan or powered attic ventilator, moves warm and damp air through a planned ventilation path. We review whether the fan location supports balanced attic ventilation and whether the electrical supply can serve the equipment safely.
Our team also checks whether the roof-mounted or gable-mounted location has a sound mounting surface. We confirm that the attic access allows safe movement of tools and materials without damaging insulation or wiring.
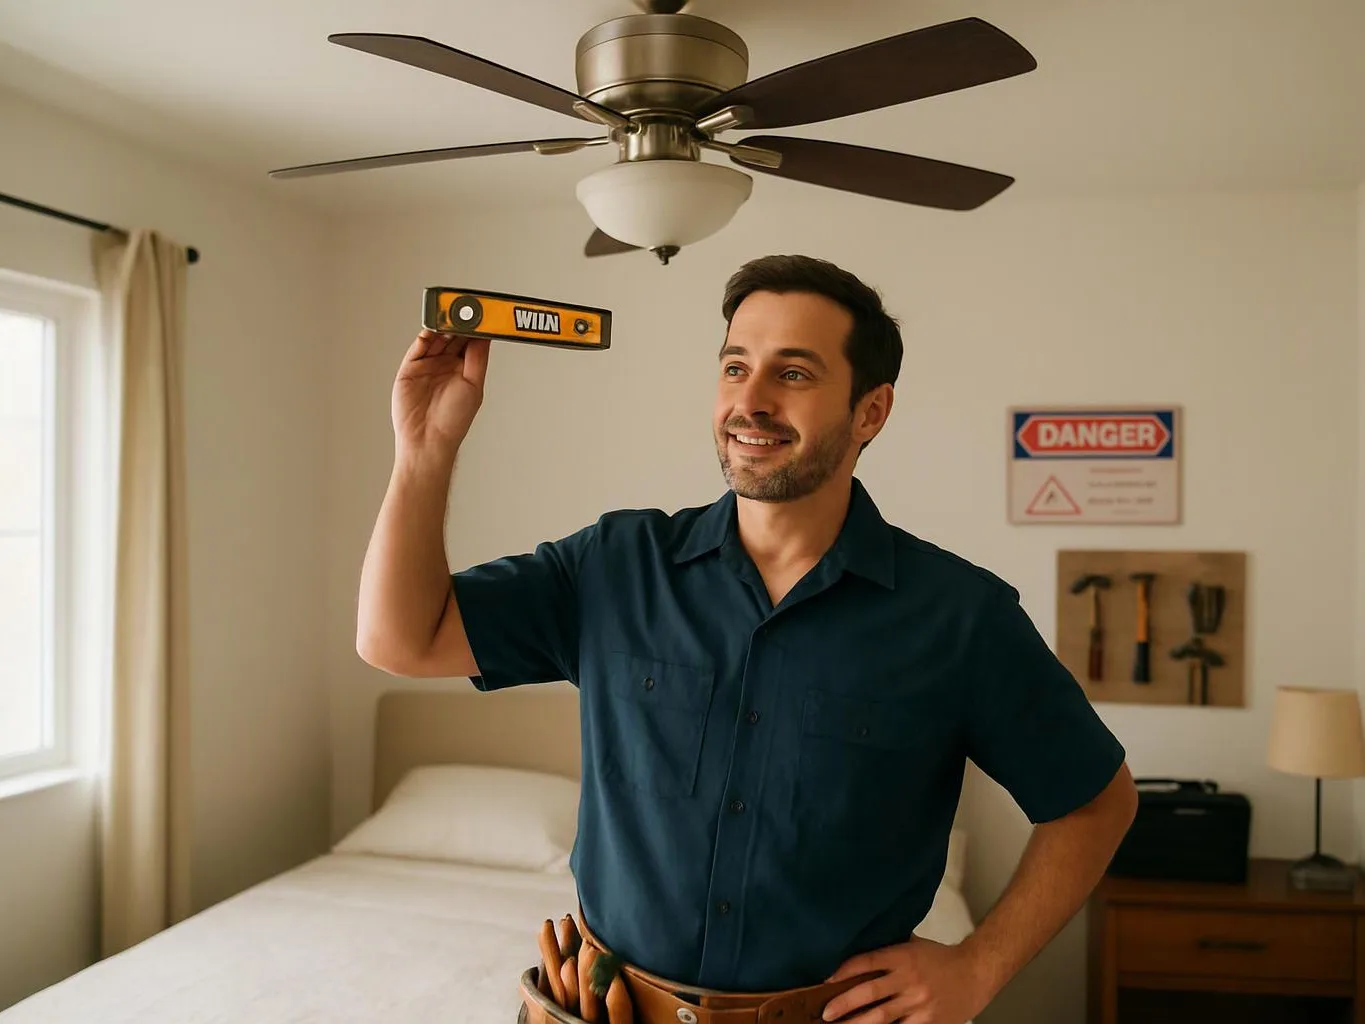
Before Installation: Prepare the Attic and Electrical System
Before installation, we prepare the work area and verify that the electrical system can support the attic fan setup.
Clear access helps us protect the home and inspect the roof or wall location without disturbing nearby building materials. We also identify the circuit path and the means used to disconnect power during the work.
Which Safety Conditions Need Attention First?
Electrical safety, stable attic access, clear working space, protected wiring, and the condition of the surrounding structure need attention before installation begins.
Attic flooring may be limited, so stepping only on structural surfaces is important. We establish a safe work position and protect nearby insulation before handling wiring or mounting equipment.
Exposed wiring, moisture, mold, or damaged framing can create risks beyond the fan installation. We stop to address conditions that could affect safe electrical work, the mounting surface, or the long-term operation of the attic ventilation system.
During Installation: Confirm the Fan and Wiring Setup
During installation, we confirm that the fan motor, housing, controls, and wiring connections fit the planned electrical and ventilation setup.
Each part must support secure operation and future maintenance access. We keep conductors protected and verify that the fan control operates the equipment as intended.
How We Check the Installation Before Testing
We check the mounting, wiring connections, grounding, airflow path, and weather sealing before energizing the attic fan.
Secure fan mounting reduces movement and helps protect the wiring. We inspect the junction box and connection points, then confirm that the grounding conductor is connected correctly.
We also check that insulation does not block the fan or its airflow path. At roof locations, we review weather sealing around the roof penetration; at wall locations, we check the surrounding seal and exterior protection.
After Installation: Test Operation and Record Maintenance Details
After installation, we test the attic fan controls, circuit operation, airflow, noise, vibration, and access for future maintenance.
Testing confirms that the fan responds to the switch or thermostat and that the circuit operates as intended. We record useful details about the fan model, control setup, and maintenance access for the homeowner.
What Red Flags Should Stop the Installation?
Installation should stop when the electrical system, structure, water protection, or ventilation path cannot safely support the attic fan.
We review the condition before continuing because a fan can expose existing problems in the attic or electrical system. The following red flags need attention first.
When Does Attic Fan Repair Make More Sense?
Attic fan repair may be appropriate when the existing fan has a localized motor, control, wiring, or connection fault and the mounting and ventilation conditions remain suitable.
Motor failure, switch failure, thermostat failure, loose wiring, and a circuit fault can each cause poor operation. We test the affected parts and inspect the fan housing, mounting, and electrical connections before recommending a repair.
Attic fan replacement may make more sense when the fan has broad damage, the mounting surface is unsuitable, or the ventilation design no longer supports the equipment. We explain the replacement decision based on the condition of the existing system and the work needed for safe operation.
What Should You Give Us Before Requesting an Estimate?
Provide the fan model, proposed location, existing controls, electrical panel information, access conditions, and clear photos so we can assess the installation scope and prepare an estimate.
Useful details include whether the fan is a roof-mounted, gable-mounted, solar, or electric attic fan. Photos of the attic access, proposed mounting area, existing fan switch, electrical panel, insulation, and nearby ventilation openings help us plan the visit.
Free Estimates Available for attic fan installation and related electrical assessment. Our estimate explains the work included, the electrical and mounting conditions we identify, and any preparation needed before installation.
Use our Attic Fan Installation service information to request an assessment. We can also review an existing system when attic fan repair or replacement may be the better fit.
Questions About Attic Fan Installation Preparation
Can an attic fan be installed on an existing electrical circuit?
Yes, an attic fan can use an existing electrical circuit when the circuit has capacity, suitable protection, and an appropriate disconnecting means. San Bernardino Electrician checks the electrical panel, branch circuit, wiring path, and fan requirements before making that connection.
Does attic insulation need to be moved before installing an attic fan?
Attic insulation may need to be moved when it blocks the mounting area, fan housing, wiring path, or airflow route. We move or protect affected insulation as part of preparing the installation area.
Can an attic fan share a switch with another attic device?
An attic fan can share a switch with another device only when the circuit, control arrangement, device ratings, and intended operation are suitable. We review the existing switch and wiring before approving that setup.
What should I do if the attic fan hums but does not turn on?
Turn off the fan control and avoid opening the housing if the attic fan hums but does not turn on. The cause may involve the motor, switch, thermostat, wiring connections, or circuit, so we test those parts during attic fan troubleshooting.
What information helps San Bernardino Electrician prepare an attic fan installation estimate?
The fan model, proposed location, electrical panel information, existing switch or thermostat, attic photos, access conditions, and desired installation scope help San Bernardino Electrician prepare an attic fan installation estimate.
Attic fan installation depends on safe access, sound mounting, protected wiring, suitable electrical supply, balanced ventilation, and reliable controls. Contact San Bernardino Electrician to review the installation or repair needs and request an estimate.
Get a Free Estimate