Lighting Installation Preparation Checklist for Indoor Projects
Lighting installation preparation checklist: San Bernardino Electrician uses the plan to confirm the room, fixture, circuit, access, safety steps, and post-installation checks before indoor lighting work begins.
Get a Free EstimateWhat Should You Confirm Before Indoor Lighting Work?
Indoor lighting work should begin with a clear plan for the room, fixture, switching, circuit, access, and electrical safety. San Bernardino Electrician reviews these details before we begin installation.
The room function helps determine light placement and brightness needs. We also check whether the existing electrical circuit, ceiling box, wall opening, and light switch can support the planned work.
Before Installation: Prepare the Room and Electrical Plan
Room preparation gives the installation a clear path and protects furniture from dust or contact with tools. We use the plan to identify access needs and confirm that the proposed lighting setup matches the electrical system.
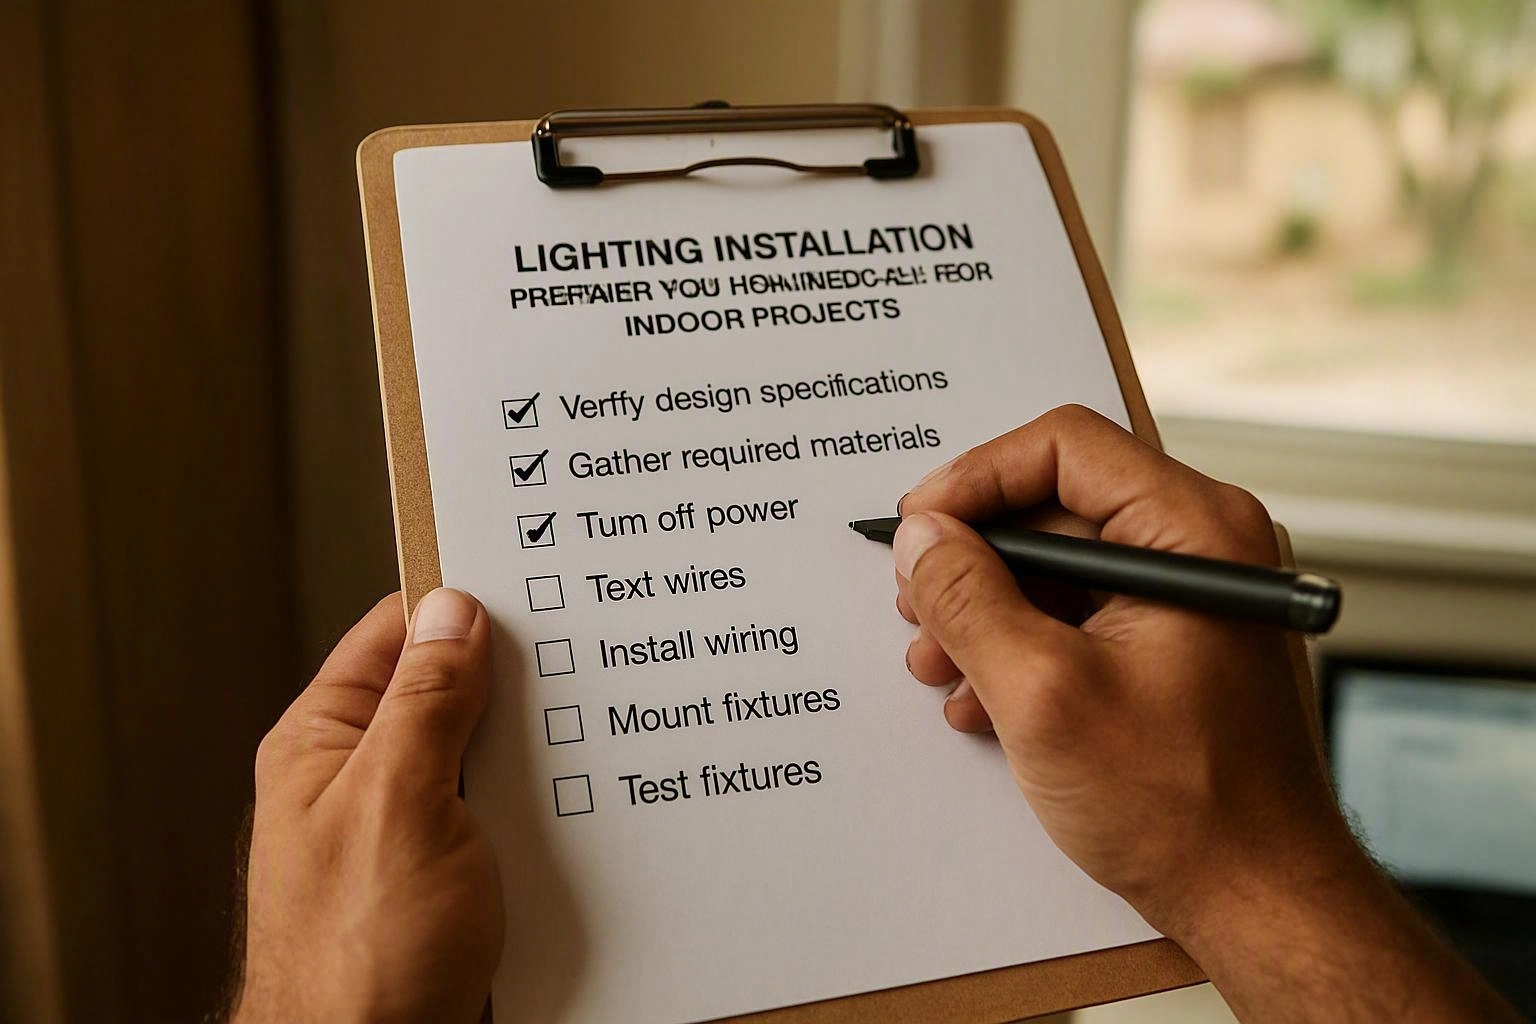
Prepare the space with the following checklist before indoor light installation begins.
How Do Fixture Choices Affect Installation Preparation?
Fixture type, weight, mounting method, control compatibility, and wiring requirements determine the preparation needed for indoor lighting installation. We match the fixture to the junction box, mounting hardware, and available electrical support.
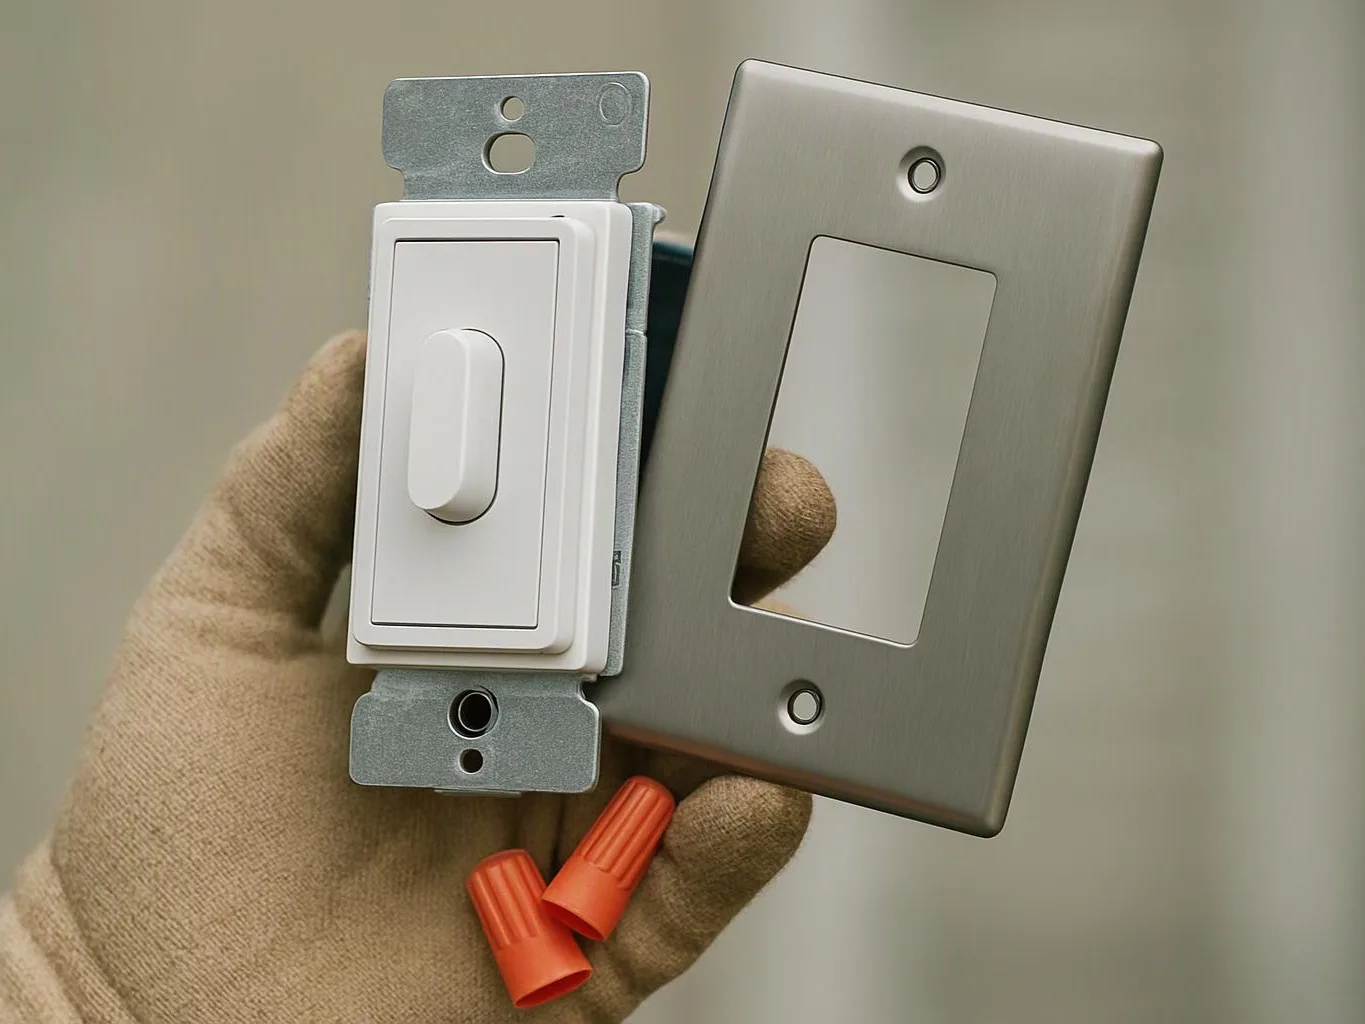
LED lighting may have specific driver or dimmer requirements. We also check dimmer compatibility and color temperature so the light works properly with the selected switch control.
Pendant light installation, recessed light installation, wall sconce installation, and LED fixture installation can each require different access and mounting decisions. We confirm the fixture weight and mounting bracket before securing the light fixture.
During Installation: Follow the Electrical Safety Checklist
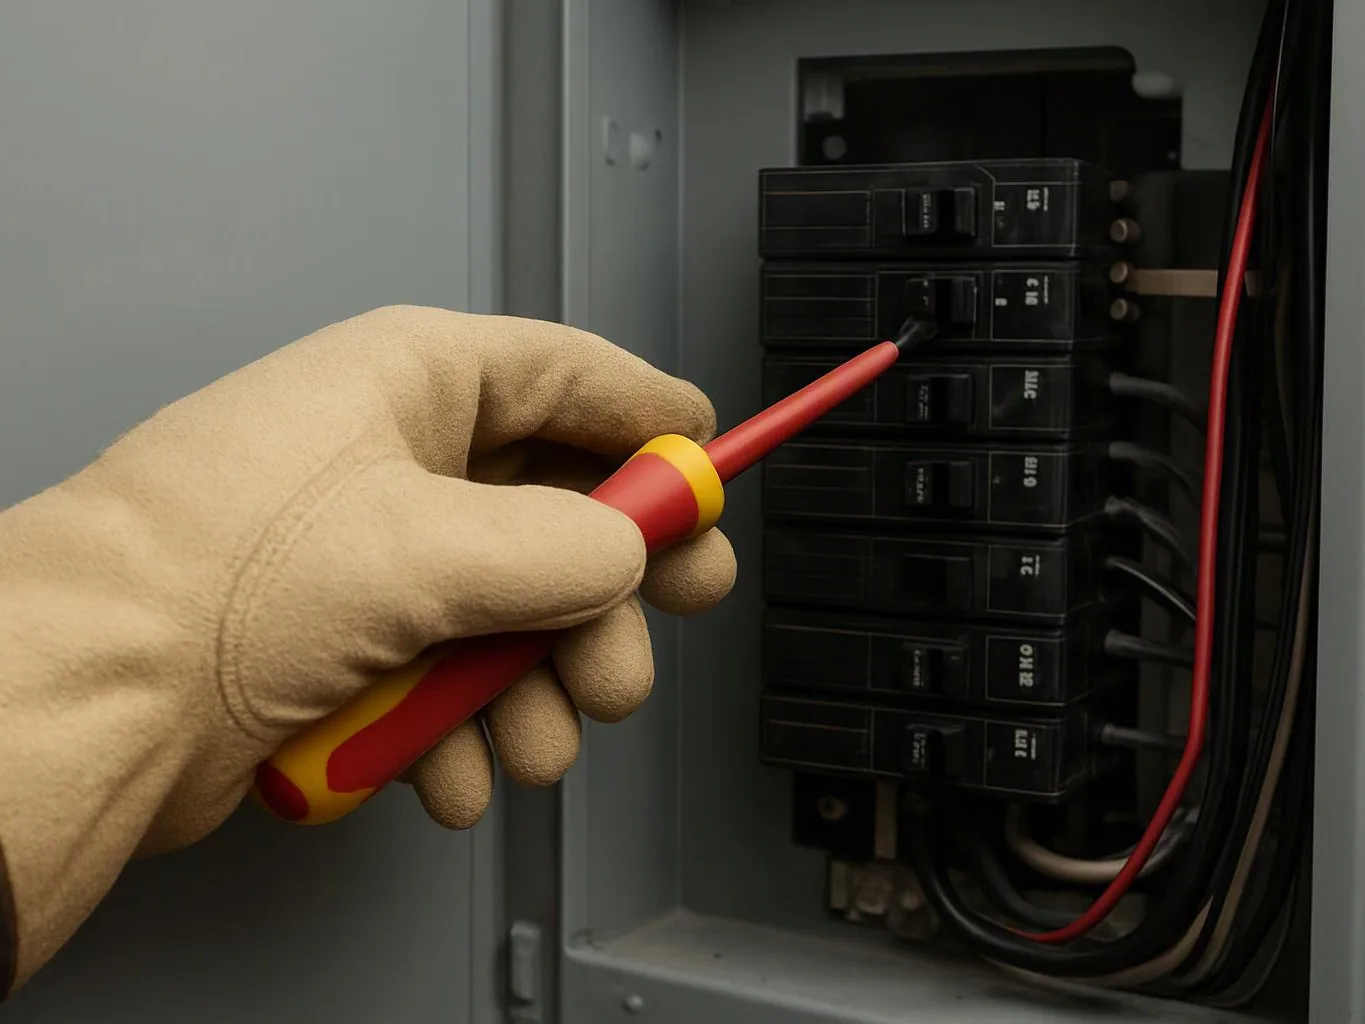
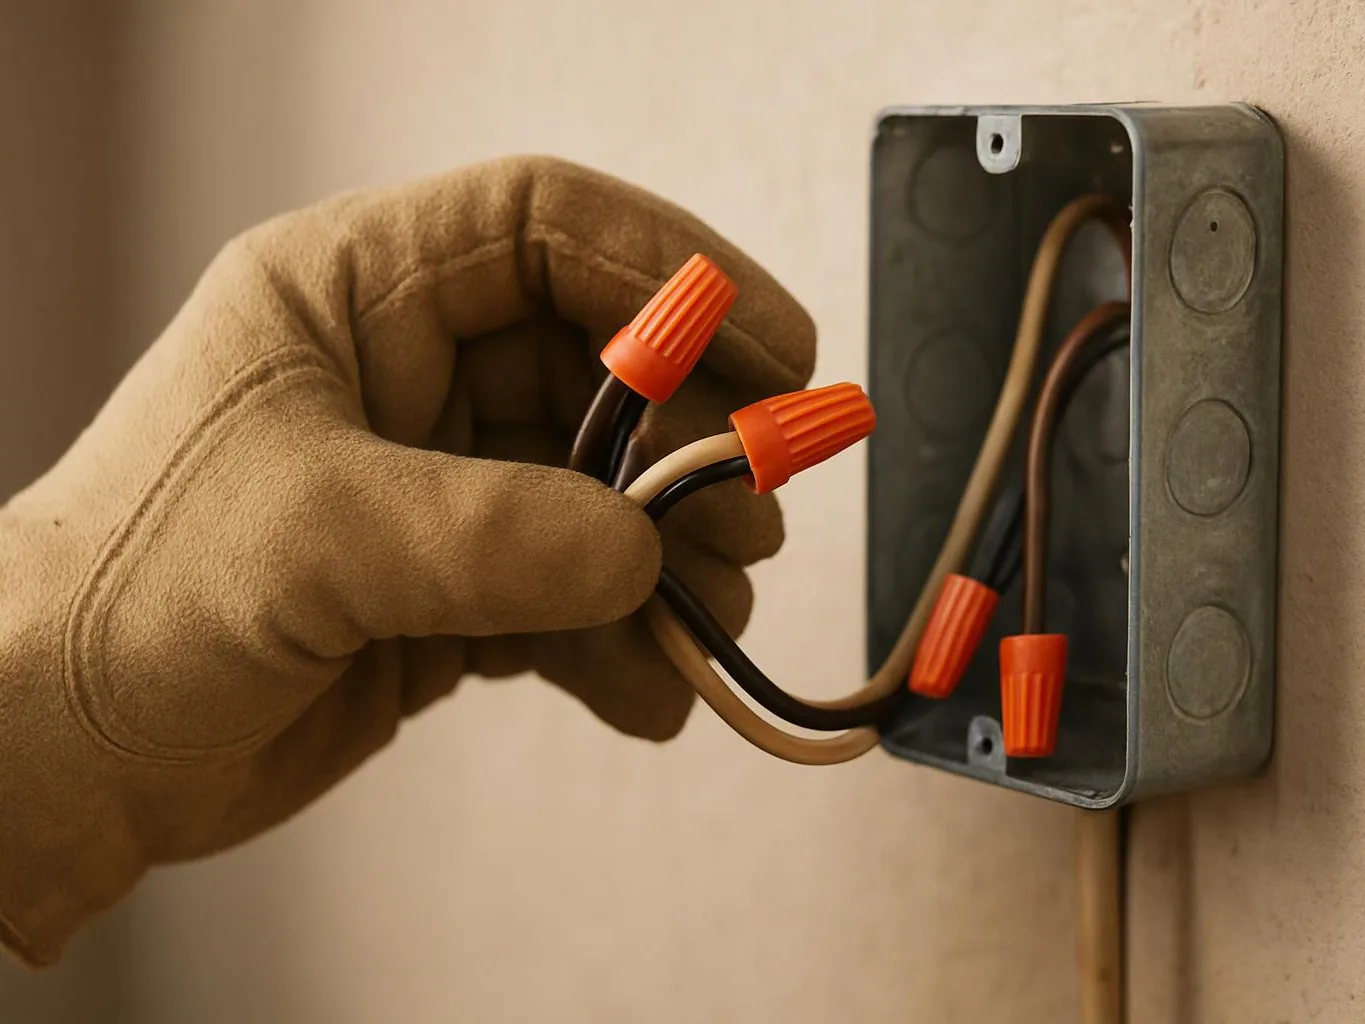
Electrical safety depends on confirmed power isolation, careful testing, secure wire connections, and stable fixture mounting. Our crew follows a controlled process before touching electrical wiring.
These steps help keep the installation organized and support accurate post-installation testing.
Which Indoor Lighting Tasks Should You Handle Yourself?
Light bulb replacement is usually suitable for you when the bulb and fixture are accessible, the power is off, and the task does not require wiring. You can also prepare the room, identify the bulb or fixture, and protect furniture before work begins.
Ladder safety matters when reaching an accessible light fixture. Use a stable ladder on a level surface, keep both hands available when possible, and stop if the position feels unsafe.
San Bernardino Electrician should handle electrical work involving wiring, circuit changes, fixture mounting, or troubleshooting. Our team can also investigate a light that remains unsafe after a bulb replacement.
After Installation: Test the Lighting and Restore the Room
Post-installation testing confirms that the light fixture, switch, dimmer, and electrical connections work as intended. We complete the checks before restoring the room and removing our work-area protection.
Use this after-installation checklist to identify issues that need attention.
What Red Flags Mean You Should Stop the Project?
Stop the project when the electrical condition appears unsafe or changes during the work. Our team can assess the issue and determine the next safe step.
Do not continue when you notice any of these red flags:
What Changes the Quote for an Indoor Lighting Project?
Indoor lighting project quotes depend on the fixture, wiring changes, switch work, access, mounting support, and circuit requirements. We review these factors so the estimate reflects the actual installation plan.
Fixture installation may involve an existing junction box or a new support point. New wiring, switch installation, ceiling access, and circuit capacity can add planning and labor needs.
Light bulb replacement usually involves a narrower scope than fixture installation or electrical troubleshooting. Our team can explain what the estimate covers and provide a Free Estimates Available estimate.
How San Bernardino Electrician Turns the Checklist Into a Safe Installation Plan
San Bernardino Electrician turns the checklist into a site assessment, lighting installation plan, or light bulb replacement plan based on the room and electrical conditions. We review the fixture, access, controls, circuit, and requested finish before describing the work.
Our team then checks the installation details, completes the electrical work, and performs an electrical inspection of the finished connections and fixture operation. We explain any needed ceiling repair, switch adjustment, or electrical troubleshooting before closing the service estimate.
For a planned project, contact us about Lighting Installation and share the room type, fixture details, switch preference, and any existing flickering lights.
San Bernardino Electrician can review your checklist and help you prepare the room for safe indoor lighting work.
Get a Free EstimateQuestions About Preparing for Indoor Lighting Installation
Can I prepare a room for lighting installation without electrical experience?
Yes, you can clear furniture, identify the fixture, note the switch location, and prepare safe access without electrical experience. San Bernardino Electrician handles wiring, circuit work, fixture mounting, and electrical testing.
What should I remove before a ceiling light is installed?
Remove fragile items and movable furniture from below the work area before a ceiling light is installed. Cover items that cannot be moved so dust and tools do not damage them.
Do I need a new junction box for a replacement light fixture?
A replacement light fixture may use the existing junction box when the box is suitable, secure, and compatible with the fixture weight and mounting method. We inspect the box before deciding whether replacement or added support is needed.
Can I replace a light bulb if the fixture is flickering?
No, do not rely on light bulb replacement when a fixture is flickering. Turn off the power and contact us for electrical troubleshooting because the cause may involve the bulb, socket, dimmer, wire connections, or circuit.
What information should I provide when requesting an indoor lighting estimate?
Provide the room location, fixture type, fixture weight if known, switch or dimmer preference, ceiling access details, and any flickering lights or prior wiring concerns. Photos of the fixture and work area can also help us understand the requested service.
Related Resources
Flickering Lights: How to Know When You Need an Electrician
What It SolvesElectrical Sparks From an Outlet, Switch, or Panel: Emergency Repair Guide
Who It's ForEmergency Lighting Repair for Seniors in San Bernardino, CA
Who It's ForRetail Store Lighting Repair and Circuit Service in San Bernardino, CA