Chandelier Repair and Light Bulb Replacement: Safe Troubleshooting Steps
Chandelier repair and light bulb replacement require power isolation, correct bulb matching, careful inspection, and safe escalation when wiring or mounting faults appear; San Bernardino Electrician handles the electrical work and provides Free Estimates Available.
Get a Free Estimate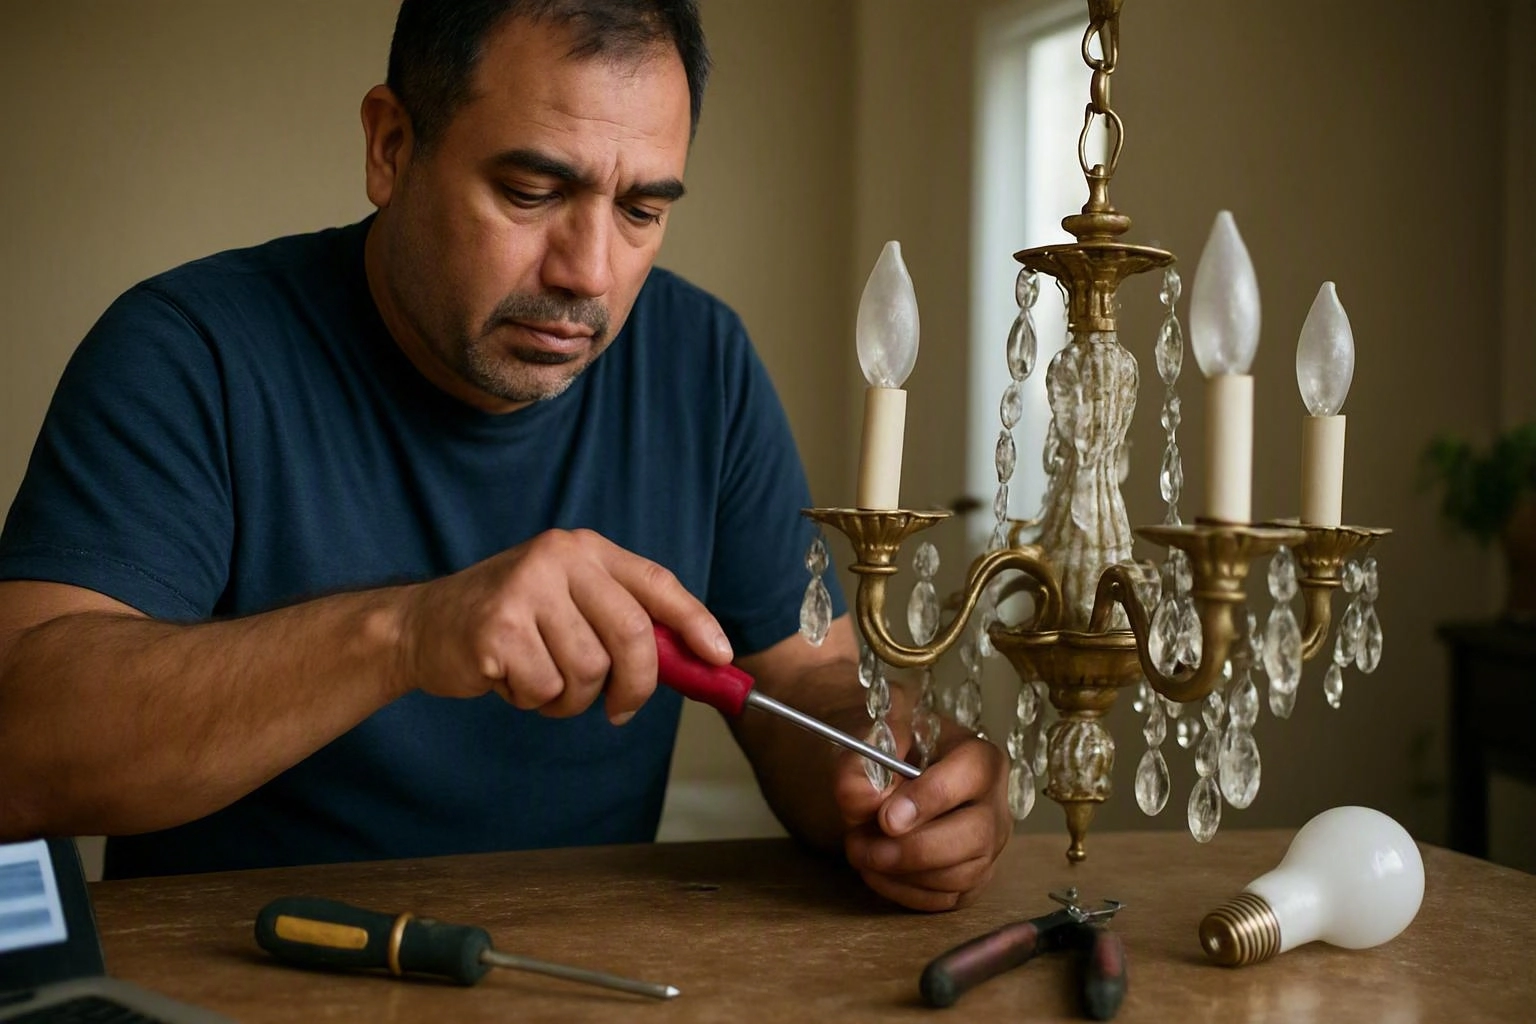
When Chandelier Repair and Bulb Replacement Belong on the Same Job
Chandelier repair and light bulb replacement belong on the same job when a failed bulb may be connected to a light socket, fixture wiring, mounting, or another fixture fault. We inspect the complete fixture when a simple bulb change does not explain the problem.
Both services may be needed in these situations:
We can coordinate bulb selection with light fixture repair when the socket, wiring, or fixture mounting affects safe operation. You can learn more about our Chandelier Repair service when the fixture needs hands-on electrical work.
What to Check Before Replacing a Chandelier Bulb
A chandelier bulb should be replaced only after the power is switched off and the bulb type, base, voltage, and fixture rating are confirmed. We use the fixture label and visible markings to confirm that the replacement matches the chandelier.
Check the circuit breaker and wall switch before touching the bulb. A wall switch alone may not isolate every conductor, so turn off the breaker when the fixture needs inspection or removal.
Match the bulb base to the light socket and match the bulb type to the fixture design. Confirm the voltage rating and wattage rating on the fixture label before installation.
When the bulb base is damaged, the socket is loose, or the fixture label cannot be read, stop the bulb change. We can inspect the light socket and confirm bulb compatibility before completing the work.
How to Troubleshoot a Chandelier Safely
Chandelier troubleshooting starts with power isolation and ends with a controlled test after the bulb and visible fixture components have been checked. Safe bulb replacement does not include working on energized wiring.
We complete the electrical inspection when the tester shows unexpected voltage or the fixture has exposed wiring. A chandelier with a suspected electrical fault should remain out of service until the condition is corrected.
What Chandelier Problems Need Electrical Repair?
Chandelier problems need electrical repair when symptoms point beyond the bulb, including damaged sockets, scorched wiring, unstable power, grounding concerns, or unsafe support. We trace the visible symptom to the fixture connection, ceiling box, or circuit before choosing a repair.
A loose socket can create poor contact and heat at the bulb base. Burn marks or scorched wiring can signal overheating, a loose connection, or a damaged component.
A flickering light or intermittent power may come from the switch, socket, fixture wiring, junction box, or circuit. We inspect these points and check the grounding conductor when the fixture shows signs of an electrical fault.
Fixture support also matters because a heavy chandelier must be secured to suitable fixture mounting and a properly supported junction box. We address unsafe support before returning the fixture to service.
How Chandelier Repair and Bulb Replacement Work Together
Chandelier repair and bulb replacement work together by identifying the fault, correcting compatible fixture components, installing the appropriate bulb, and testing the completed work. The cost depends on the fixture condition, access, parts, and repair scope.
Bundling related work can reduce repeated handling of the fixture because diagnosis, repair, bulb installation, and final testing follow one coordinated process. We explain the work included in the quote before beginning the repair.
How San Bernardino Electrician Assesses the Work
San Bernardino Electrician assesses the chandelier, electrical connections, fixture stability, access conditions, and required parts before explaining the work and preparing an estimate; Free Estimates Available.
We begin with a chandelier inspection that covers the canopy, fixture arms, sockets, visible wiring, and mounting points. Our team also checks the junction box and grounding conductor when those parts are part of the fixture connection.
Access conditions can affect how safely we reach the chandelier and how the fixture must be supported during service. We identify the replacement parts and describe the repair scope before proceeding.
Our estimate reflects the fixture design, access requirements, bulb compatibility, socket condition, wiring condition, and repair complexity. You can request an estimate after the assessment.
How to Know the Chandelier Is Safe to Use Again
A chandelier is ready for use when the fixture is secure, the correct bulb is installed, the switch operates normally, and testing reveals no visible or electrical fault. We complete final testing after the repair and bulb installation are finished.
A secure fixture should remain stable at its mounting point without sagging, shifting, or unusual movement. The light output should remain stable when the wall switch operates.
Look for an absence of heat damage, discoloration, odor, buzzing, or repeated breaker activity during the test. We stop testing and investigate when the breaker trips or the chandelier behaves inconsistently.
The final electrical test confirms that the repaired fixture, switch, circuit, and visible connections operate as intended. Keep the chandelier out of service if any unsafe symptom returns.
What Changes the Cost of This Chandelier Job
The cost of chandelier repair and light bulb replacement changes with fixture design, access, bulb compatibility, component condition, and the complexity of the electrical repair. Request an exact estimate after the work is assessed.
Fixture design can affect how easily we reach the sockets, wiring, canopy, and mounting hardware. Ceiling height and access requirements can also change the work needed to support and inspect the chandelier safely.
Bulb compatibility affects whether a simple replacement is suitable or whether the socket needs attention. Socket condition, wiring condition, and replacement components further shape the repair scope.
We explain the recommended work and quote after inspecting the fixture. The estimate accounts for the parts, access, fixture condition, and repair complexity found during the electrical inspection.
Questions About Chandelier Repair and Bulb Replacement
Why does a chandelier still flicker after the bulb is replaced?
San Bernardino Electrician checks the socket, wall switch, fixture wiring, junction box, and circuit when a chandelier still flickers after bulb replacement. Flickering may indicate a loose connection, damaged socket, intermittent power, or another electrical fault.
Can a wrong bulb damage a chandelier socket?
Yes, a wrong bulb can damage a chandelier socket when the bulb base, voltage rating, or wattage rating does not match the fixture. We inspect the socket for heat damage and confirm bulb compatibility before installing a replacement.
What should you do if a chandelier bulb burns out repeatedly?
Stop repeated bulb replacement and keep the chandelier off until the socket, bulb compatibility, fixture wiring, and circuit are checked. We inspect for loose connections, heat damage, voltage problems, and other conditions that can cause repeated failures.
When should a chandelier be removed from service?
A chandelier should be removed from service when it has burn marks, scorched wiring, a damaged socket, unstable fixture support, repeated breaker activity, or unexplained flickering. We inspect the fixture before it is used again.
What information is needed to request an exact chandelier repair estimate?
An exact chandelier repair estimate requires the fixture design, access conditions, bulb type, visible socket or wiring symptoms, fixture mounting condition, and the requested repair scope. We confirm these details during an assessment and explain the required work.
Chandelier repair and light bulb replacement are safest when bulb selection, socket condition, wiring, mounting, and final testing are handled as one connected job. San Bernardino Electrician can assess the fixture and explain the next step.
Contact San Bernardino Electrician for an assessment and Free Estimates Available.
Related Resources
Flickering Lights: How to Know When You Need an Electrician
What It SolvesElectrical Sparks From an Outlet, Switch, or Panel: Emergency Repair Guide
Who It's ForEmergency Lighting Repair for Seniors in San Bernardino, CA
What's RequiredLighting Installation Preparation Checklist for Indoor Projects